こんにちわ、PHPエンジニアのエンジニア婦人(@naho_osada)です。
私はPHPエンジニアとして8年~の経験があります。
「開発環境を外部にしたい」
本機で仮想マシンを作って開発していると、色々立ち上げすぎてメモリ不足になってしまうことがありました。
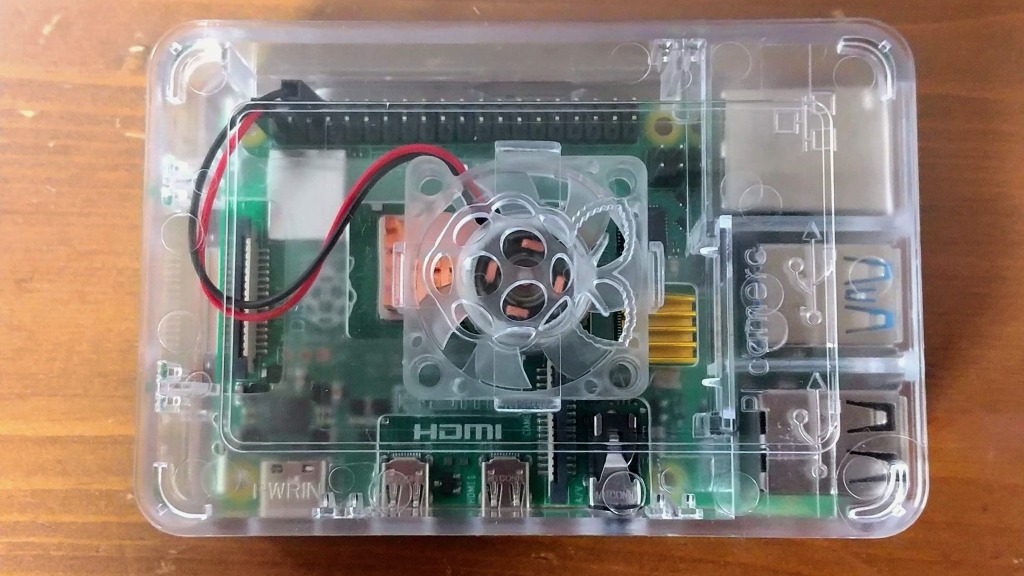
これを避けたかったので、ラズパイ(Raspberry Pi 4 Model B)を開発用のWebサーバーにしてしまう作戦です。
ここでは
- Nginx
- PHP
- MariaDB
を入れていきます。
ラズパイそのものの組み立てやOSインストールは省略します。説明書通りにやれば終わります。
もう一台買う機会があったら、今度はIoTとして使ってみたいですね。
ラズパイにSSH接続できるようにする
SSH接続ができるようにしておけば、ラズパイそのものにモニタやキーボードを接続して操作しなくてもよくなります。
後々の開発サーバーとして使うためにもできるようにしておきます。
セットアップの参考
ファイアウォールを入れる
初期状態では入っていないので、こちらも入れておきます。
sudo apt-get install ufwVimを入れておく
入れておくと何かと便利です。
sudo apt-get install vimNginxをインストール
sudo apt-get install nginxNginx自体はこれだけで入れられます。非常に簡単です。起動してアクセスしてみます。
sudo systemctl nginx startラズパイのIPアドレスへアクセスするとこんな画面表示できます。
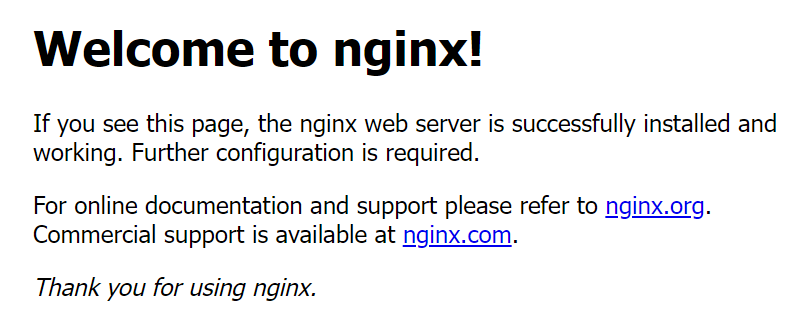
curlのlocalhostでも確認できます。
curl http://localhost
ラズパイの起動と同時にNginxも起動するようにしておきます。
sudo systemctl enable nginxPHPをインストール
PHPを使うので、これが動くようにしていきます。
Apacheはデフォルトでついてきますが、Nginxは別で入れる必要があります。
sudo apt-get install php php-fpm
which php #phpの場所を確認、入れたバージョンを確認する

php-fpm7.4 -v
PHP 7.4.33 (fpm-fcgi) (built: Jun  9 2023 16:51:37)
Copyright (c) The PHP Group
Zend Engine v3.4.0, Copyright (c) Zend Technologies
    with Zend OPcache v7.4.33, Copyright (c), by Zend Technologies
Nginxの設定
Nginxの設定ファイルを編集し、PHPが実行できるようにします。
設定ファイルは「/etc/nginx/sites-available/default」です。
sudo vim /etc/nginx/sites-available/default# Add index.php to the list if you are using PHP
のところに index.phpを追加します。
# Add index.php to the list if you are using PHP
index index.php index,html index.htm index,nginx-debian.html;
# pass PHP scripts to FastCGI server
のコメントアウトを外します。
location ~ \.php$ {
    include snippets/fastcgi-php.conf;

    # With php-fpm (or other unix sockets):
    fastcgi_pass unix:/run/php.php7.4-fpm.sock;

    # With php-^cgi(or othger tcp sockets):
    # fastcgi_pass 127.0.0.1:9000;
}
/etc/nginx/sites-available/defaultはこんな感じになります(一部掲載)。
# Default server configuration
#
server {
        listen 80 default_server;
        listen [::]:80 default_server;

        # SSL configuration
        #
        # listen 443 ssl default_server;
        # listen [::]:443 ssl default_server;
        #
        # Note: You should disable gzip for SSL traffic.
        # See: https://bugs.debian.org/773332
        #
        # Read up on ssl_ciphers to ensure a secure configuration.
        # See: https://bugs.debian.org/765782
        #
        # Self signed certs generated by the ssl-cert package
        # Don't use them in a production server!
        #
        # include snippets/snakeoil.conf;

        root /var/www/html;

        # Add index.php to the list if you are using PHP
        index index.php index.html index.htm index.nginx-debian.html;

        server_name _;

        location / {
                # First attempt to serve request as file, then
                # as directory, then fall back to displaying a 404.
                try_files $uri $uri/ =404;
        }

        # pass PHP scripts to FastCGI server
        #
        location ~ \.php$ {
                include snippets/fastcgi-php.conf;

                # With php-fpm (or other unix sockets):
                fastcgi_pass unix:/run/php/php7.4-fpm.sock;
                # With php-cgi (or other tcp sockets):
                # fastcgi_pass 127.0.0.1:9000;
        }

        # deny access to .htaccess files, if Apache's document root
        # concurs with nginx's one
        #
        #location ~ /\.ht {
        #       deny all;
        #}
}
設定したらNginxを再起動します。
sudo systemctl restart nginxPHPの動作確認
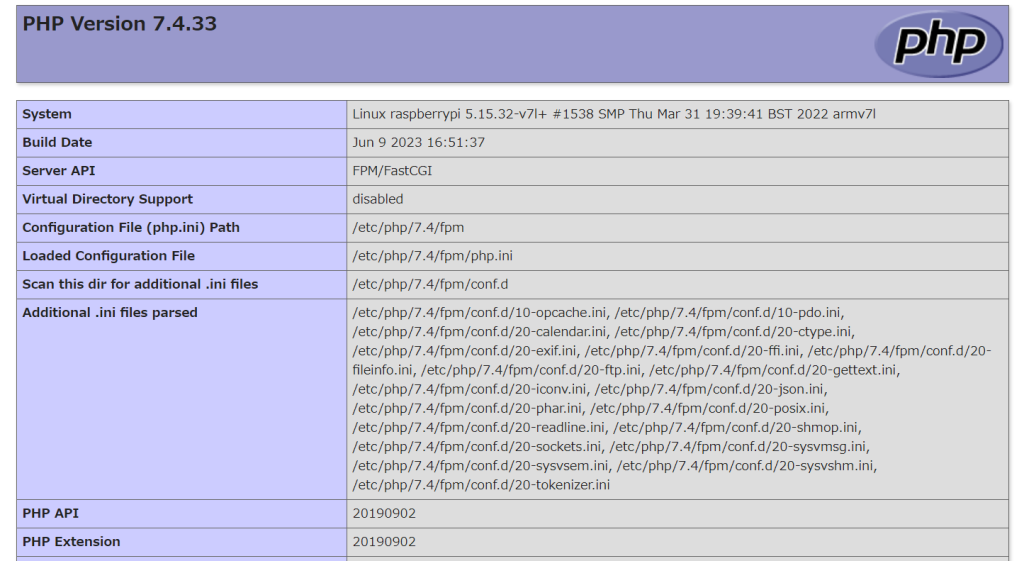
phpinfo()を実行し、正常に動作することを確認していきます。
公開ディレクトリ(defaultのrootに書いてあります、ここでは/var/www/html)にinfo.phpなどを作り、phpinfo();が実行できれば成功です。
データベース(MariaDB)のインストール
データベースも入れてしまいます。
設定はすべてyesで問題ないと思います。途中でrootパスワードの設定変更があります。
sudo apt-get install mariadb-server
sudo mysql_secure_installation
installationを実行するとこのような流れで進んでいきます。
NOTE: RUNNING ALL PARTS OF THIS SCRIPT IS RECOMMENDED FOR ALL MariaDB
      SERVERS IN PRODUCTION USE!  PLEASE READ EACH STEP CAREFULLY!

In order to log into MariaDB to secure it, we'll need the current
password for the root user. If you've just installed MariaDB, and
haven't set the root password yet, you should just press enter here.

Enter current password for root (enter for none):
OK, successfully used password, moving on...

Setting the root password or using the unix_socket ensures that nobody
can log into the MariaDB root user without the proper authorisation.

You already have your root account protected, so you can safely answer 'n'.

Switch to unix_socket authentication [Y/n] Y
Enabled successfully!
Reloading privilege tables..
 ... Success!


You already have your root account protected, so you can safely answer 'n'.

Change the root password? [Y/n] Y
New password:
Re-enter new password:
Password updated successfully!
Reloading privilege tables..
 ... Success!


By default, a MariaDB installation has an anonymous user, allowing anyone
to log into MariaDB without having to have a user account created for
them.  This is intended only for testing, and to make the installation
go a bit smoother.  You should remove them before moving into a
production environment.

Remove anonymous users? [Y/n] y
 ... Success!

Normally, root should only be allowed to connect from 'localhost'.  This
ensures that someone cannot guess at the root password from the network.

Disallow root login remotely? [Y/n] y
 ... Success!

By default, MariaDB comes with a database named 'test' that anyone can
access.  This is also intended only for testing, and should be removed
before moving into a production environment.

Remove test database and access to it? [Y/n] y
 - Dropping test database...
 ... Success!
 - Removing privileges on test database...
 ... Success!

Reloading the privilege tables will ensure that all changes made so far
will take effect immediately.

Reload privilege tables now? [Y/n] y
 ... Success!

Cleaning up...

All done!  If you've completed all of the above steps, your MariaDB
installation should now be secure.

Thanks for using MariaDB!
phpMyAdminをインストール
必須ではありませんが、GUIはあると何かと便利ですので入れておきます。
sudo apt-get install phpmyadmin該当するWebサーバーはないので、チェックを入れないで続行します。
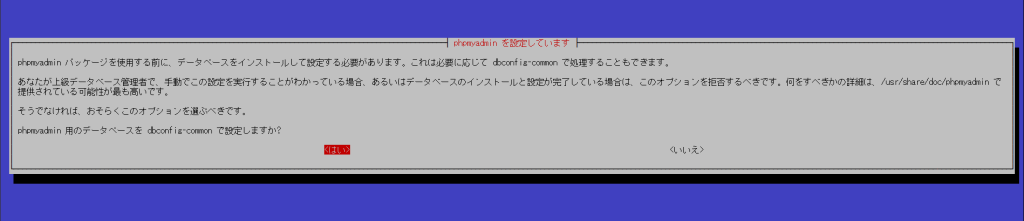
こちらは「はい」を選択します。
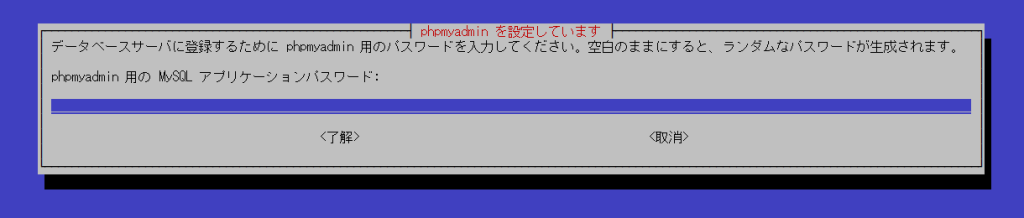
空のまま「了解」を選択します。
完了したら、今度はNginxが使えるようにphpMyAdminの設定ファイル「phpmyadmin.conf」を作成します。
sudo vim /etc/nginx/conf.d/phpmyadmin.conf
#以下の記述を書いて保存する
server {
listen 80;
server_name localhost;
location /phpmyadmin {
alias /usr/share/phpmyadmin;
index index.php;
}
location ~ ^/phpmyadmin/(.+\.php)$ {
fastcgi_pass unix:/run/php/php7.4-fpm.sock;
fastcgi_index index.php;
fastcgi_param SCRIPT_FILENAME /usr/share/phpmyadmin/$1;
include fastcgi_params;
}
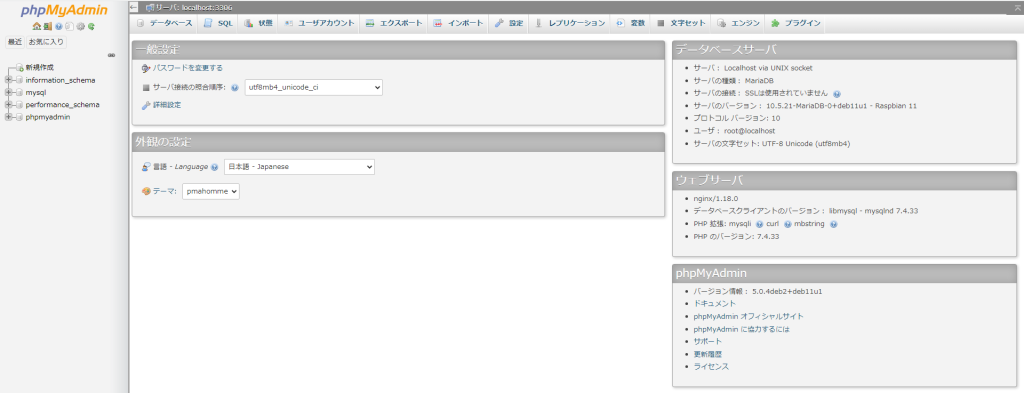
}最後に、ブラウザからphpmyadminにアクセスするためにシンボリックリンクを貼ります。
sudo ln -s /usr/share/phpmyadmin /var/www/htmlブラウザから/phpmyadminにアクセスして、表示とログインができれば完了です。
rootのパスワードは先に設定したものを使います。
Nginxを入れた理由
Nginxで開発機にするにはあまりメリットはないと思いますが、Apacheしか触ったことがなかったので、勉強のために試しに入れてみました。
参考
- 【2023年版】Raspberry Pi(ラズパイ)をSSH接続(パスワードと公開鍵)でリモートアクセスする方法
- Raspberry Piをセットアップする(2022年版)
- IoTではないRaspberry Piの使い方(nginxの場合)
Raspberry Pi 4B
フリーランスの案件探しはエミリーエンジニア※広告
毎日仕事をしながらも次の案件を気にしなければならない…フリーランスの宿命です。
そんな大変な案件探しは【エミリーエンジニア】のエージェントに助けてもらってはいかがでしょうか。
▼ 登録はここから ▼

- 月額60~80万円の高額案件中心
- 15年以上の信頼と実績があるから、プライム案件を受注できる
- フルリモート案件が90%以上
専属のキャリアアドバイザリーコンサルタントに色々と相談もできますよ。
エンジニアの転職はキャリアネクスト※広告
今の職場で頑張っても収入アップは見込めない…
エンジニア転職の【キャリアネクスト】で転職で収入アップを目指してみてはいかがでしょう?
▼ 登録はここから ▼

- エンジニアのキャリア支援を始めて10年以上!
- 大手からベンチャー、スタートアップまで幅広い
- 理想のキャリアプランから最適と考える企業様だけをご紹介
- 応募書類の添削や企業との連絡代行などのフォローあり
- 不安なことは専任のアドバイザーにすぐ相談